


Bellevue Seller Prep Timeline: 30 Days to a Stronger First Impression
In Bellevue, buyers move fast—and they often decide how they feel about a home within moments of pulling up. The good news is you don't need a full renovation to create that "this is the one" reaction. What you do need is a clear, realistic plan that breaks the work into manageable steps so the final result feels intentional, polished, and easy to say yes to. Below is a 30-day prep timeline built for the pace and expectations of the Eastside market, with checkpoints that help you prioritize the upgrades that show the best on day one.
Before you begin: walk through your home like a first-time visitor. Note what stands out first—both good and bad. Pay special attention to entry lighting, odors, flooring transitions, and anything that reads as deferred maintenance (sticky doors, loose handles, cracked caulk). If you're working with a pro from Keller Williams Realty Eastside, this is also the moment to request a pricing and positioning conversation, because the prep list should match your likely buyer profile and target price range.
Days 30–22: Set the strategy, book the pros, and reduce visual noise
This first week is all about preventing last-minute scrambling. Start by choosing your target list date and work backward, then lock in appointments for a handyman, painter, landscaper, and a deep cleaner if you'll use one. In the Greater Puget Sound area, reliable vendors book out quickly—especially in spring and early summer—so schedule early and adjust the timeline around what you can actually secure.
Next, begin the most powerful (and cheapest) upgrade: editing. Pack up half of what's on open shelves, counters, and tabletops. Aim for surfaces that feel calm and functional: one or two intentional items, not a collection. If you have an office nook, clear cords, remove paper stacks, and consider swapping in a simple lamp so the space reads as a bonus, not a storage zone. Buyers in Bellevue commonly look for flexible spaces—hybrid work, workout corner, play area—so give them room to imagine.
Now tackle closets and the garage. You're not trying to hide everything; you're proving there's enough storage. Leave 20–30% of closet space visibly empty, group like items together, and store bulky off-season gear in labeled bins. In the garage, create a clean walkway line from door to interior entry. A tidy garage signals overall home care, which can quietly reduce buyer anxiety about unseen issues.
Days 21–15: Fix what buyers notice, and refresh the "high-trust" surfaces
Week two is your credibility week. Small defects can read as "what else hasn't been maintained?" even when the home is otherwise solid. Prioritize the items that show up in photos and walkthroughs: touch-up paint on scuffed trim, a smooth-close door that currently sticks, a leaky faucet, missing outlet covers, and wobbly railings. Replace burnt-out bulbs with consistent color temperature (soft white in living areas is usually safest) and make sure every fixture actually works.
If you're painting, keep it simple: clean whites or soft neutrals that look good in Northwest daylight. Focus on high-impact zones—entry, main living area, hallways, and the primary bedroom—rather than painting every single room. The goal is cohesion, not perfection. If your home has beautiful natural wood or custom finishes, you can still keep a neutral backdrop; let the architecture be the feature.
Kitchen and bath updates don't have to be dramatic to matter. Fresh caulk, updated cabinet pulls, and a new vanity light can modernize the feel without blowing the budget. And don't underestimate professional cleaning on grout and glass—sparkle is persuasive. Buyers often translate "clean" into "well cared for," and that perception can support a stronger offer position.
Days 14–8: Stage for flow, light, and photography—not for your daily life

This is the stretch where your home starts to feel like a listing. Arrange furniture to create clear walking paths and obvious "zones" (conversation area, dining, reading corner). If a room feels tight, remove one piece—often a side chair, extra bookcase, or oversized ottoman. Buyers won't remember that you fit more furniture; they'll remember that the room felt big and easy.
Light is a major differentiator in Bellevue because the market includes everything from sun-filled newer construction to homes tucked among evergreens. Open blinds, clean windows, and trim back anything outside that blocks natural light. Indoors, use lamps to fill shadowy corners—especially in basements and north-facing rooms. A balanced, warm glow makes photos feel inviting and helps buyers linger.
Keep décor simple and universal. Think fresh bedding, crisp towels, and a few textured neutrals instead of bold colors. If you have strong personal collections, pack them now. The more your home reads like a calm backdrop, the easier it is for a buyer to project their own life into it—morning coffee at the island, a cozy movie night, a guest room that finally gets used.
Don't forget the scent and sound test. Avoid heavy air fresheners; they can raise suspicion. Instead, aim for "nothing" by addressing the source: trash, litter boxes, damp towels, and hidden pet areas. During showings, a quiet home with subtle airflow feels fresher than one trying to cover something up.
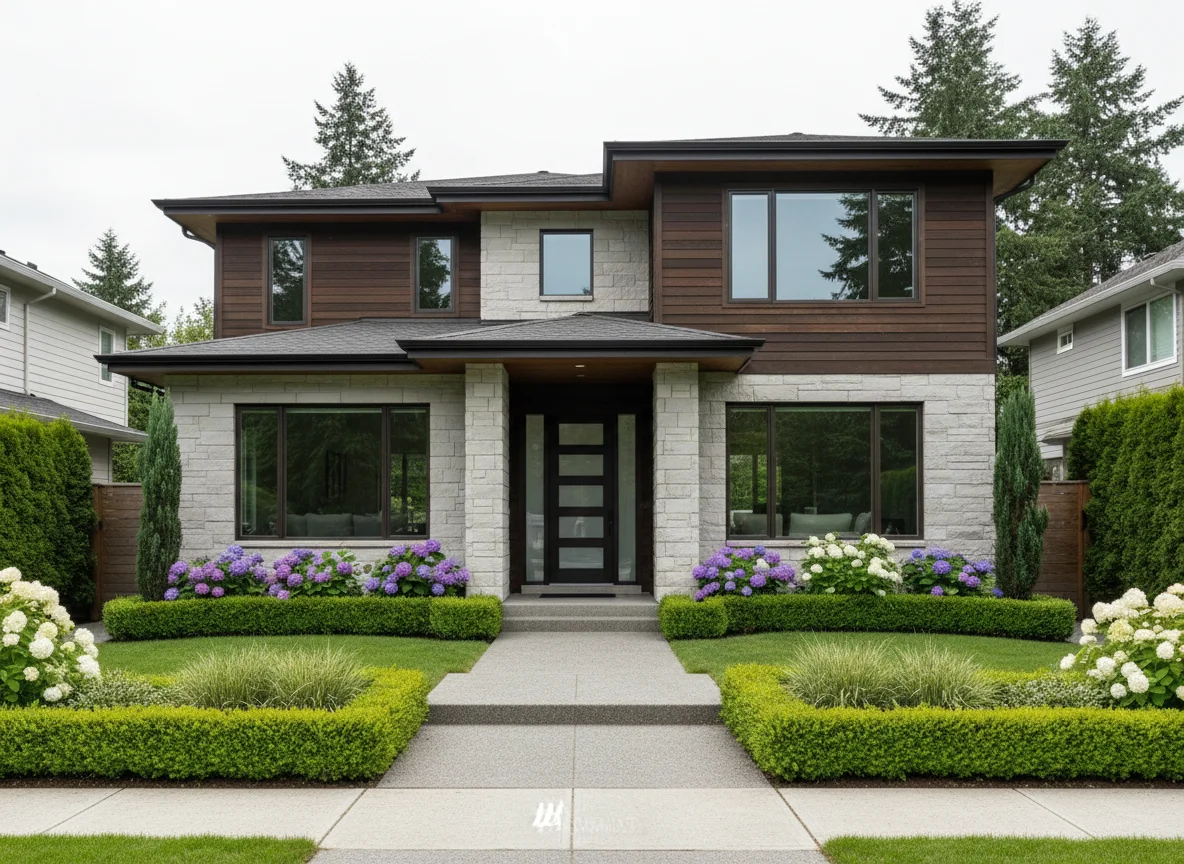
Days 7–1: Curb appeal, final clean, and the listing-ready checklist

The last week is about nailing the first five minutes. Pressure wash the walkway, sweep the porch, and make the entry feel bright and intentional. Fresh mulch, trimmed edges, and seasonal planters photograph beautifully and translate well for in-person tours. If your home has a patio or deck, stage it like an extra room: clean furniture, simple cushions, and a clear sense of where someone would sit and unwind.
Inside, do a deep clean that targets what cameras and buyers catch immediately: baseboards, light switches, mirrors, stainless steel, and floors. Then do a "photo pass" with your phone. If something looks cluttered in a quick snapshot, it will look cluttered in listing photos. Simplify until the room reads instantly: fewer items on counters, cords tucked away, and trash cans out of sight.
Finish with a practical checklist for showings: all lights on, toilet lids down, towels folded, beds made hotel-tight, and valuables secured. If you have pets, plan how they'll be handled during tours. Finally, gather key documents—recent utility bills, warranties, and a short list of upgrades—so your agent can answer questions confidently.
Where this plan pays off in Bellevue: buyers here often weigh commute flexibility, school options, and everyday convenience alongside the home itself. A polished property lets them focus on lifestyle—nearby parks and trails, easy access to regional employers, and the kind of neighborhood rhythm that makes the Eastside feel like home. If you want a second set of eyes on what will matter most for your specific property, Andrew Snow and the team at Keller Williams Realty Eastside can pair a prep plan with online tools for home valuation and market positioning—so the work you do in these 30 days supports the strongest first impression when it counts.


